Hello ELT!!
Let's continue to
review what technology has to offer to an ELT teacher to facilitate learning.
Among the
several challenges teachers face, teaching in difficult circumstances and with low resources is the most frustrating.
Have you
ever taught English as a foreign language in a classroom of 120 students in the
afternoon when they are likely to be tired and sleepy? How possible, you surely
ask! Trust me, I have been there, and I know exactly where the shoe pinches and
HURTS!
But
teaching English shouldn't be a frustrating experience!
How do we
make the experience enjoyable, even under challenging circumstances?
Here is
where the screencast comes in handy!
What is a screencast?
Simply said,
it is a video and audio recording of what occurs on your computer screen. In
other words, anything found on a computer screen can be recorded as audio or
video and shared.
How does
that aid teaching and learning?
We live in
an age where learners have a digital preference for learning. They would rather
watch videos than read boring textbooks. They would give 100% vote to games and
a veto to grammar exercises.
As ELT
practitioners, we can capitalise on these learning trends to reach the same
goals just in a traditional classroom!
Screencasting
is also a very pragmatic way to engage learners before and after the classroom.
It can be used as part of a flipped classroom or blended learning.
This is
where teaching in large classrooms becomes less burdensome and scary to an
extent.
Do you have
activities for your learners, and you wonder how to effectively conduct
the activities in a classroom of 80 students? Screencasting the exercise and
sending them to your students before the lesson will help tremendously.
If you were
born with a silver spoon of creativity in your mind, then conjure the spirit of
creativity in you to make your videos interactive and fun.
What is the
most challenging and boring English language lesson to teach and learn? Trust
me, with screencasting, your students will learn that lesson without even realising
it!
Now, enough
with the chitchatting! Let's get down to some practical business!
How do you
make a screencast?
You need
screencasting software. There are several on the internet like Loom, Open
Broadcaster Software, Filmora Scrn, Icecream Screen Recorder, Camtasia, Screencast-o-Matic.
In this
article, my focus is on Screencast-o-Matic. I have a strong preference for this
software for several reasons.
It isn't that fussy!
It's simple to use
And it is very easy to navigate.
You don't need more than 30 minutes, and I mean it, more
than 30 minutes, to become an expert user of Screencast-o-Matic.
Hey, I see
you got an excellent grammar lesson lined up for your next class. What about Screencast-o-Maticating it! I mean, what about making a screencast of that lesson!
Before we look at what the website has got to offer, get your lesson or whatever resource you want to screencast ready in whatever format you want.
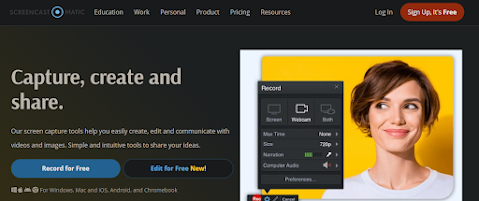
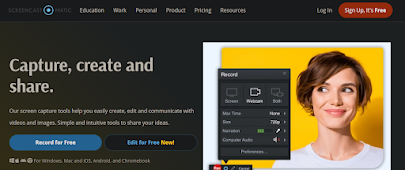
Now, let me take you on a quick tour of the Screencast-o-Matic website.
The first attraction of Screencast-o-Matic is that you don't need to create an account on the website to use it. Can you believe that? If you are anything like me, creating an account on any website can be very boring.
You can start straight away by screencasting your lessons!
Click on the "Record for free" button to start the recording. It will
A page like this will appear. Click on Launch Free Recorder
Once you launch the recorder, a frame will appear with recording boundaries. The frame is very important because the record will only capture content that appears within the frame.
 You can expand or minimise the frame but make sure the content you want to capture is within that frame.
You can choose to record with your webcam, on or without your webcam, or both.
Once you are ready to screencast your content, clink on Rec and after three seconds, your recording will start. As long as your recording is on, whatever page or content you navigate to on your computer will be captured. You can move from one document to the other or on different folders on your computer or different tabs on your browser.
Once you have finished recording your content, stop the recording and click on Done. A pop up will appear where you have options to save, share or edit your video. You can save your video and edit or share it later.
If you decide to save your video, click on Save. A new pop up screen will appear with different saving options. You can either save it on the Screencast-o-matic website, on a folder on your computer, on Youtube or on your Google Drive.
You can edit your video by adding captions, background music, and other animated content.
It is as simple as this!
I know you are saying it is easier said than done!
Well, I've summarised this content in a screencast. Follow this link on Youtube to watch it.
Enjoy!
Have you ever tried screencasting in your classroom? Let's chat in the comment section!
(All images credit: https://screencast-o-matic.com/)
 Google
Classroom is one of the less fussy learning platforms. It has a straightforward and
user-friendly interface. There are very few links on the homepage except links
to create a class or set a calendar. All classes in which students and the teacher
are involved are listed on the homepage of the teacher’s account. This is where
the teacher manages all his/her lessons.
  The Stream tab
for a live discussion with the students. The teacher can modify the settings to
allow students to post and comment, comment, post, or comment only.
  The Classwork
tab is where the teacher creates assignments, quizzes, questions, and materials. These
can be organised under different topics.


